How to use Samsung Contact in OM
Configuration of the server
see installation hints
Configuration of the workstation
- Install Microsoft Outlook 2000
- Install Samsung MAPI, the Outlook Client Driver for Samsung Contact
- Go to Settings, Mail: you see this screen:
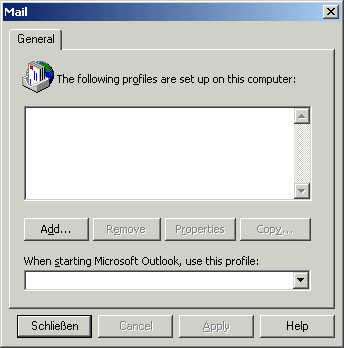
Click on the "add" button to add a new profile!
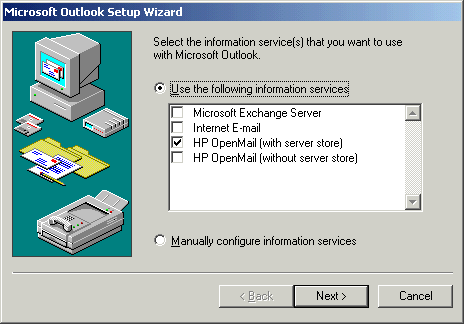
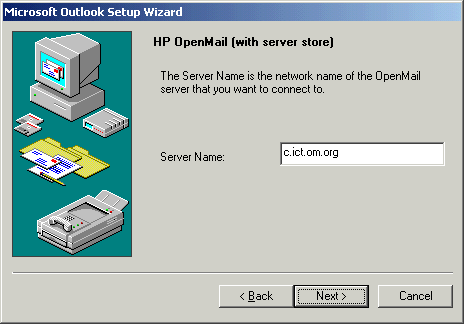
The name after the -n option in the omadduser command:
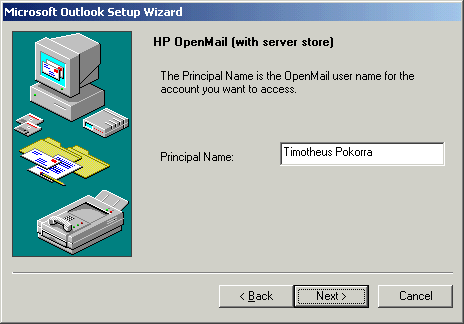
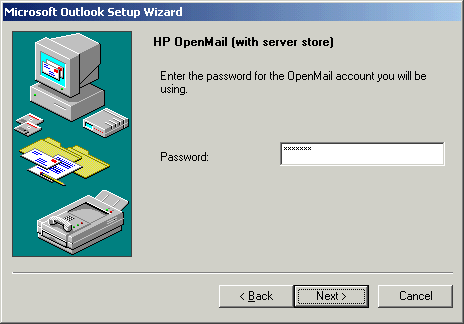
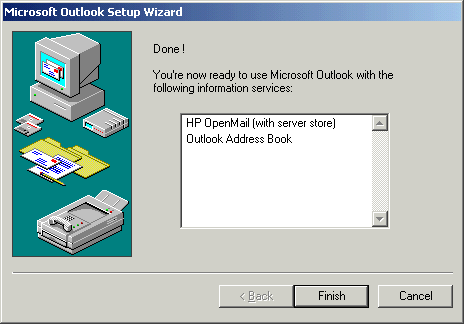
-
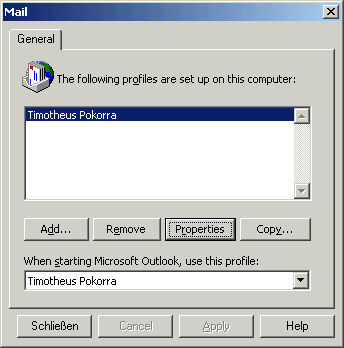
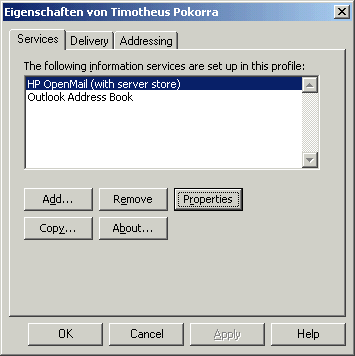
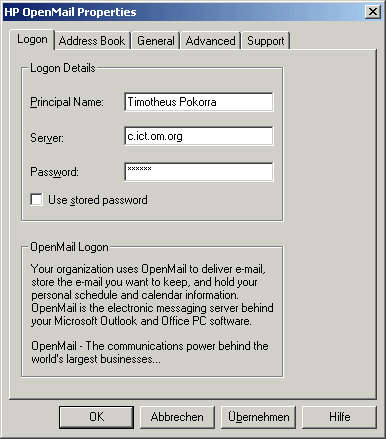
Type your password in here if you want to make changes to the properties:
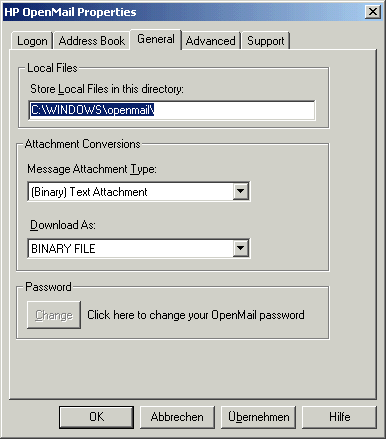
In this dialog the directory where to save the mails and calendar items can be changed e.g. to the h:/ drive:
Then click the "OK" button.
resources
- create a unix account for the resource, e.g. adduser meetingroom1
- create an Openmail account: omaddu -n "Meeting Room1/test" -a "Room1" -p some_password -u meetingroom1_15 -F
- create an additional profile in an Outlook client for "Meeting Room1".
Log in with this account.
If there are problems choosing the profile:
Change "Tools/Options/Mail Services/Startup Settings": Prompt for a profile to be used
- in "Tools/Options" choose the tab "Delegates":
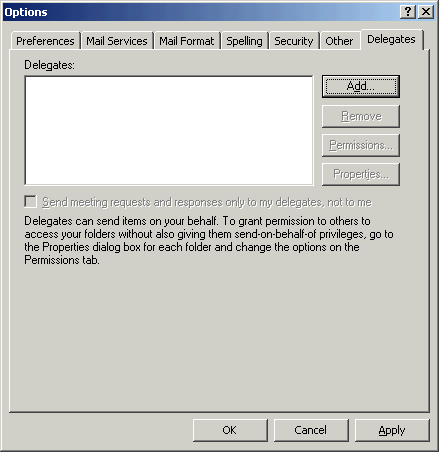
click on "Add", choose a user that should be the delegate:
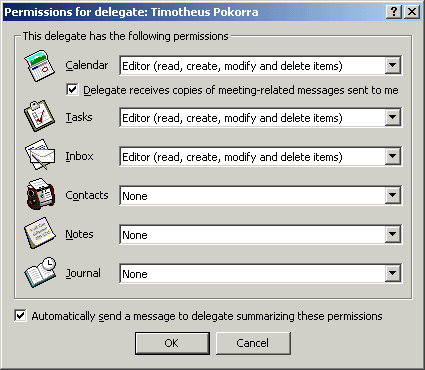
give access rights
- Choose the calendar in the TreeView (root: Outlook Today - [Mailbox]) and do a right click:
In the popup menu choose "properties".
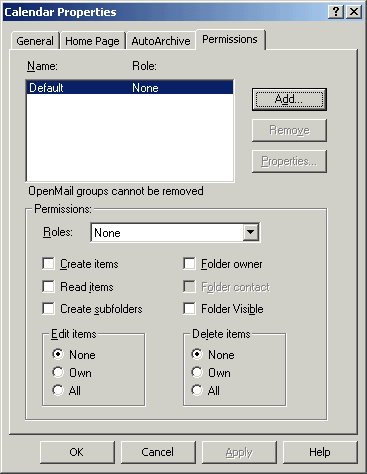
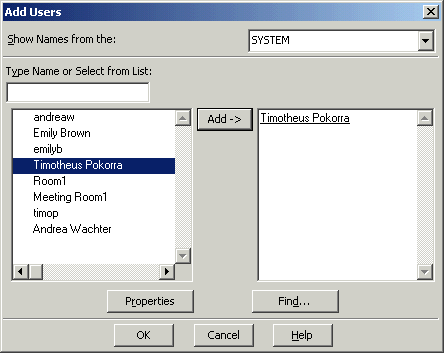
Give another user some rights for this folder, e.g. the role "reviewer":
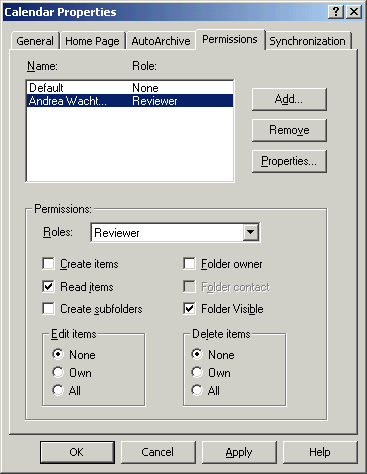
From now on, the other user should be able to review the current calendar.
He just logs in with his own user name, and then chooses from the menu: "File/Open/Other user's folder".
Organise a meeting with several users and resources
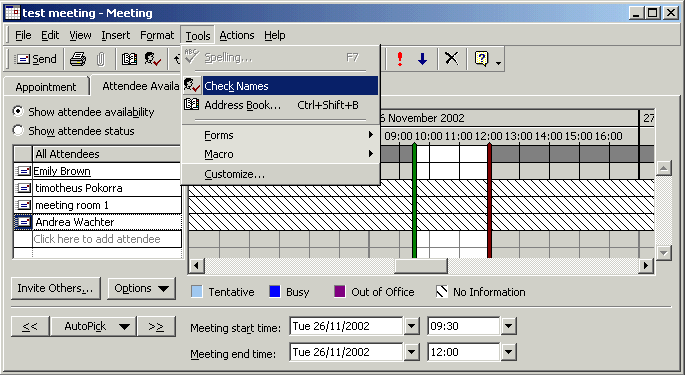
If the free/busy times of users are not known yet, there is the button "options / Update Free/Busy".
Because the user will not always know the correct names of the other attendees or resources, he should use
the "check names" tool:
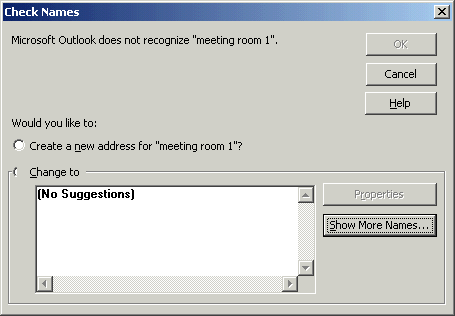
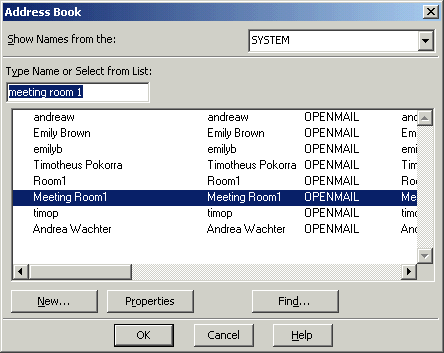
There is no "meeting room 1", so it helps to click on "Show more names". This leads to this window, where the user can either
choose from the list or search for the user if the list is too long:
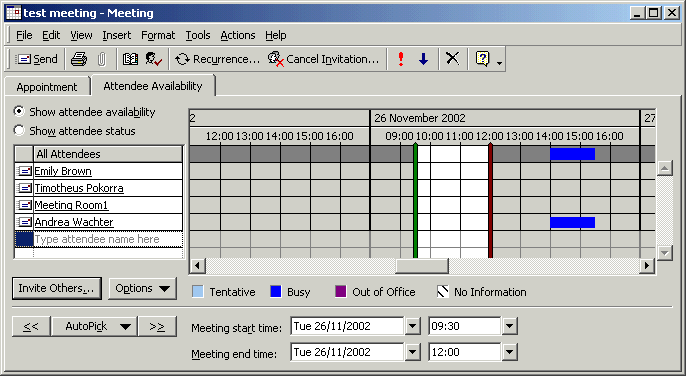
The information about the involved people and resources is now displayed:
Another example follows that shows the kind of types for the attendants: Required and Optional, and Resource.
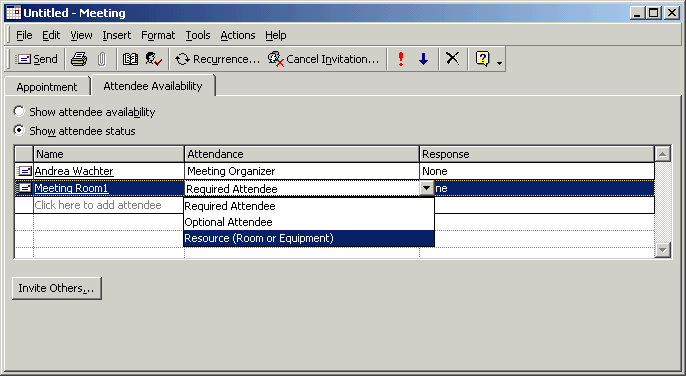
After that, the other attendees are informed about the meeting by clicking the "send" button.
Reacting to an invitation:
In the example, Timotheus gets two invitations, one for himself and the other because
he is the delegate of the resource "meeting room1".
The mail looks like this after opening it:
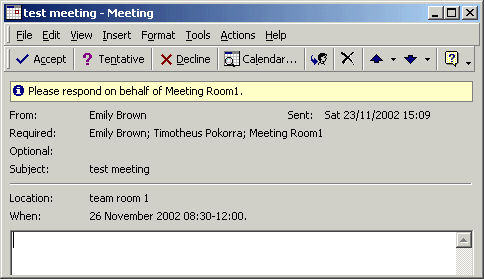
The only difference of this invitation of the meeting room to the invitation to the user Timotheus is that it has only the
sentence "Please respond" instead of "Please respond on behalf of".
offline work and synchronisation
Activate offline mode in "Tools/Synchronisation options/enable offline working".
You can also disable this type of working again.
The options of synchronisation can be changed in "Tools/Synchronisation options/options".
e.g.
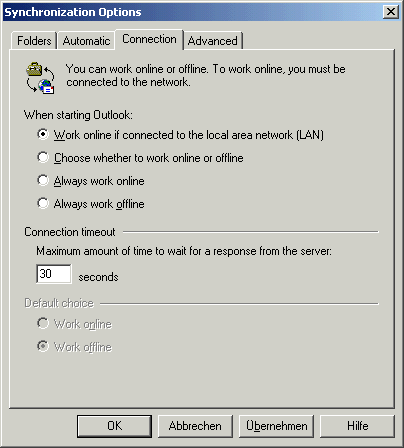
You can create meetings in offline mode, but the messages to other attendants are saved in the outbox.


